
Our $400 bedroom makeover

Our master bedroom makeover has been one of my favorite DIY’s to date! And it was so affordable for a total room overhaul, just around $400. For that amount we ripped out the carpet, installed DIY plywood floors, and painted every surface (walls, molding, ceiling, floors). We used all of our old furniture and rearranged it, stole a rug from another room, and found the perfect side table on the side of the road. The only thing we bought for this room was a round mirror from Target for around $40. Hopefully this makeover will encourage to rethink what your rooms can look like if you are craving a change, the power of paint and a little rearranging never ceases to amaze me! Scroll down to see what the same view above looked like before.
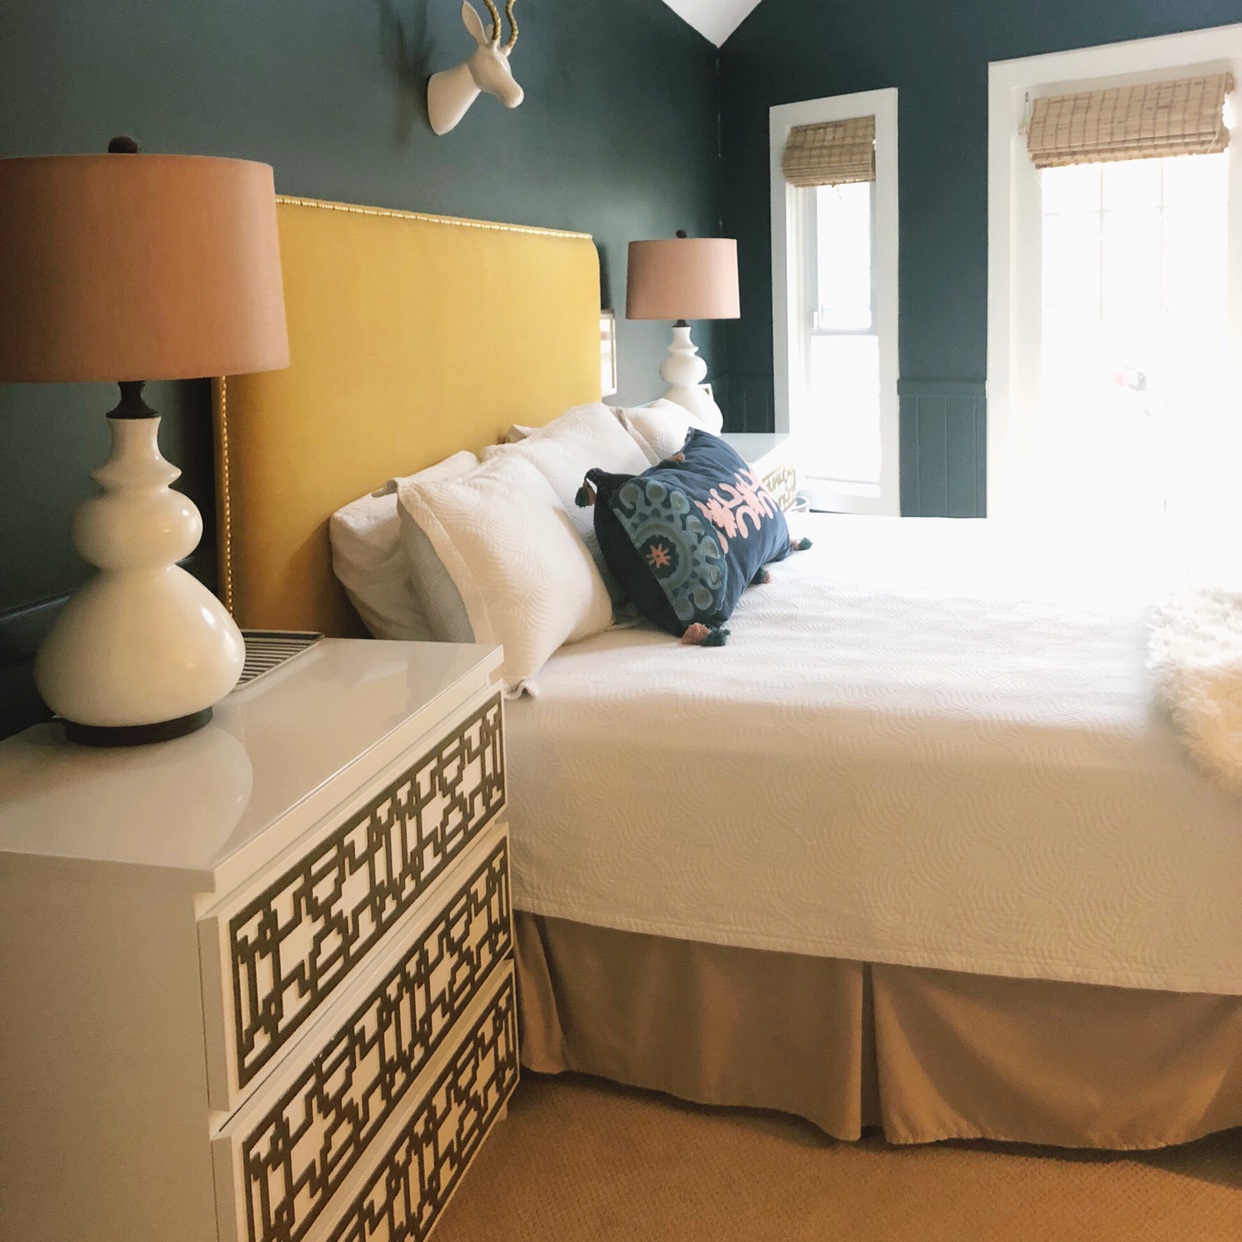
Looks pretty different right? If you notice from the after image, the nightstands in the before picture are now pushed together to create a dresser. Same pieces but totally different feel!

Our downstairs has wood floors and tile in most rooms but our master and hallway had carpet which always bothered me. It also was always super dirty because the hallway outside our master is a main thoroughfare. I finally got so tired of it I just randomly ripped out the hallway carpet one Friday night. I knew there was a chance the original hardwood floors were under there and honestly even painted subfloor seemed better to me than the old dirty carpet. Well good news and bad news followed (as happens with most renos) . The original hardwoods were under some of the carpet but it was patched in with plywood and engineered hardwoods as well.
So we lived with the subfloor for about a month while we decided what to do. I also decided I wanted to paint and rearrange our bedroom so I sold some furniture I didn’t have a spot for anymore to pay for the renovation (selling the furniture paid for the whole redo!) I searched and searched pinterest for some DIY alternatives for wood floors and decided to go with a version of this DIY from the queen of DIY, Jenny Komenda.
So we moved our mattress into the dining room floor, which the twins thought was the best thing ever! We worked during nap times and after the girls went to bed and finished the whole thing in about two weeks.
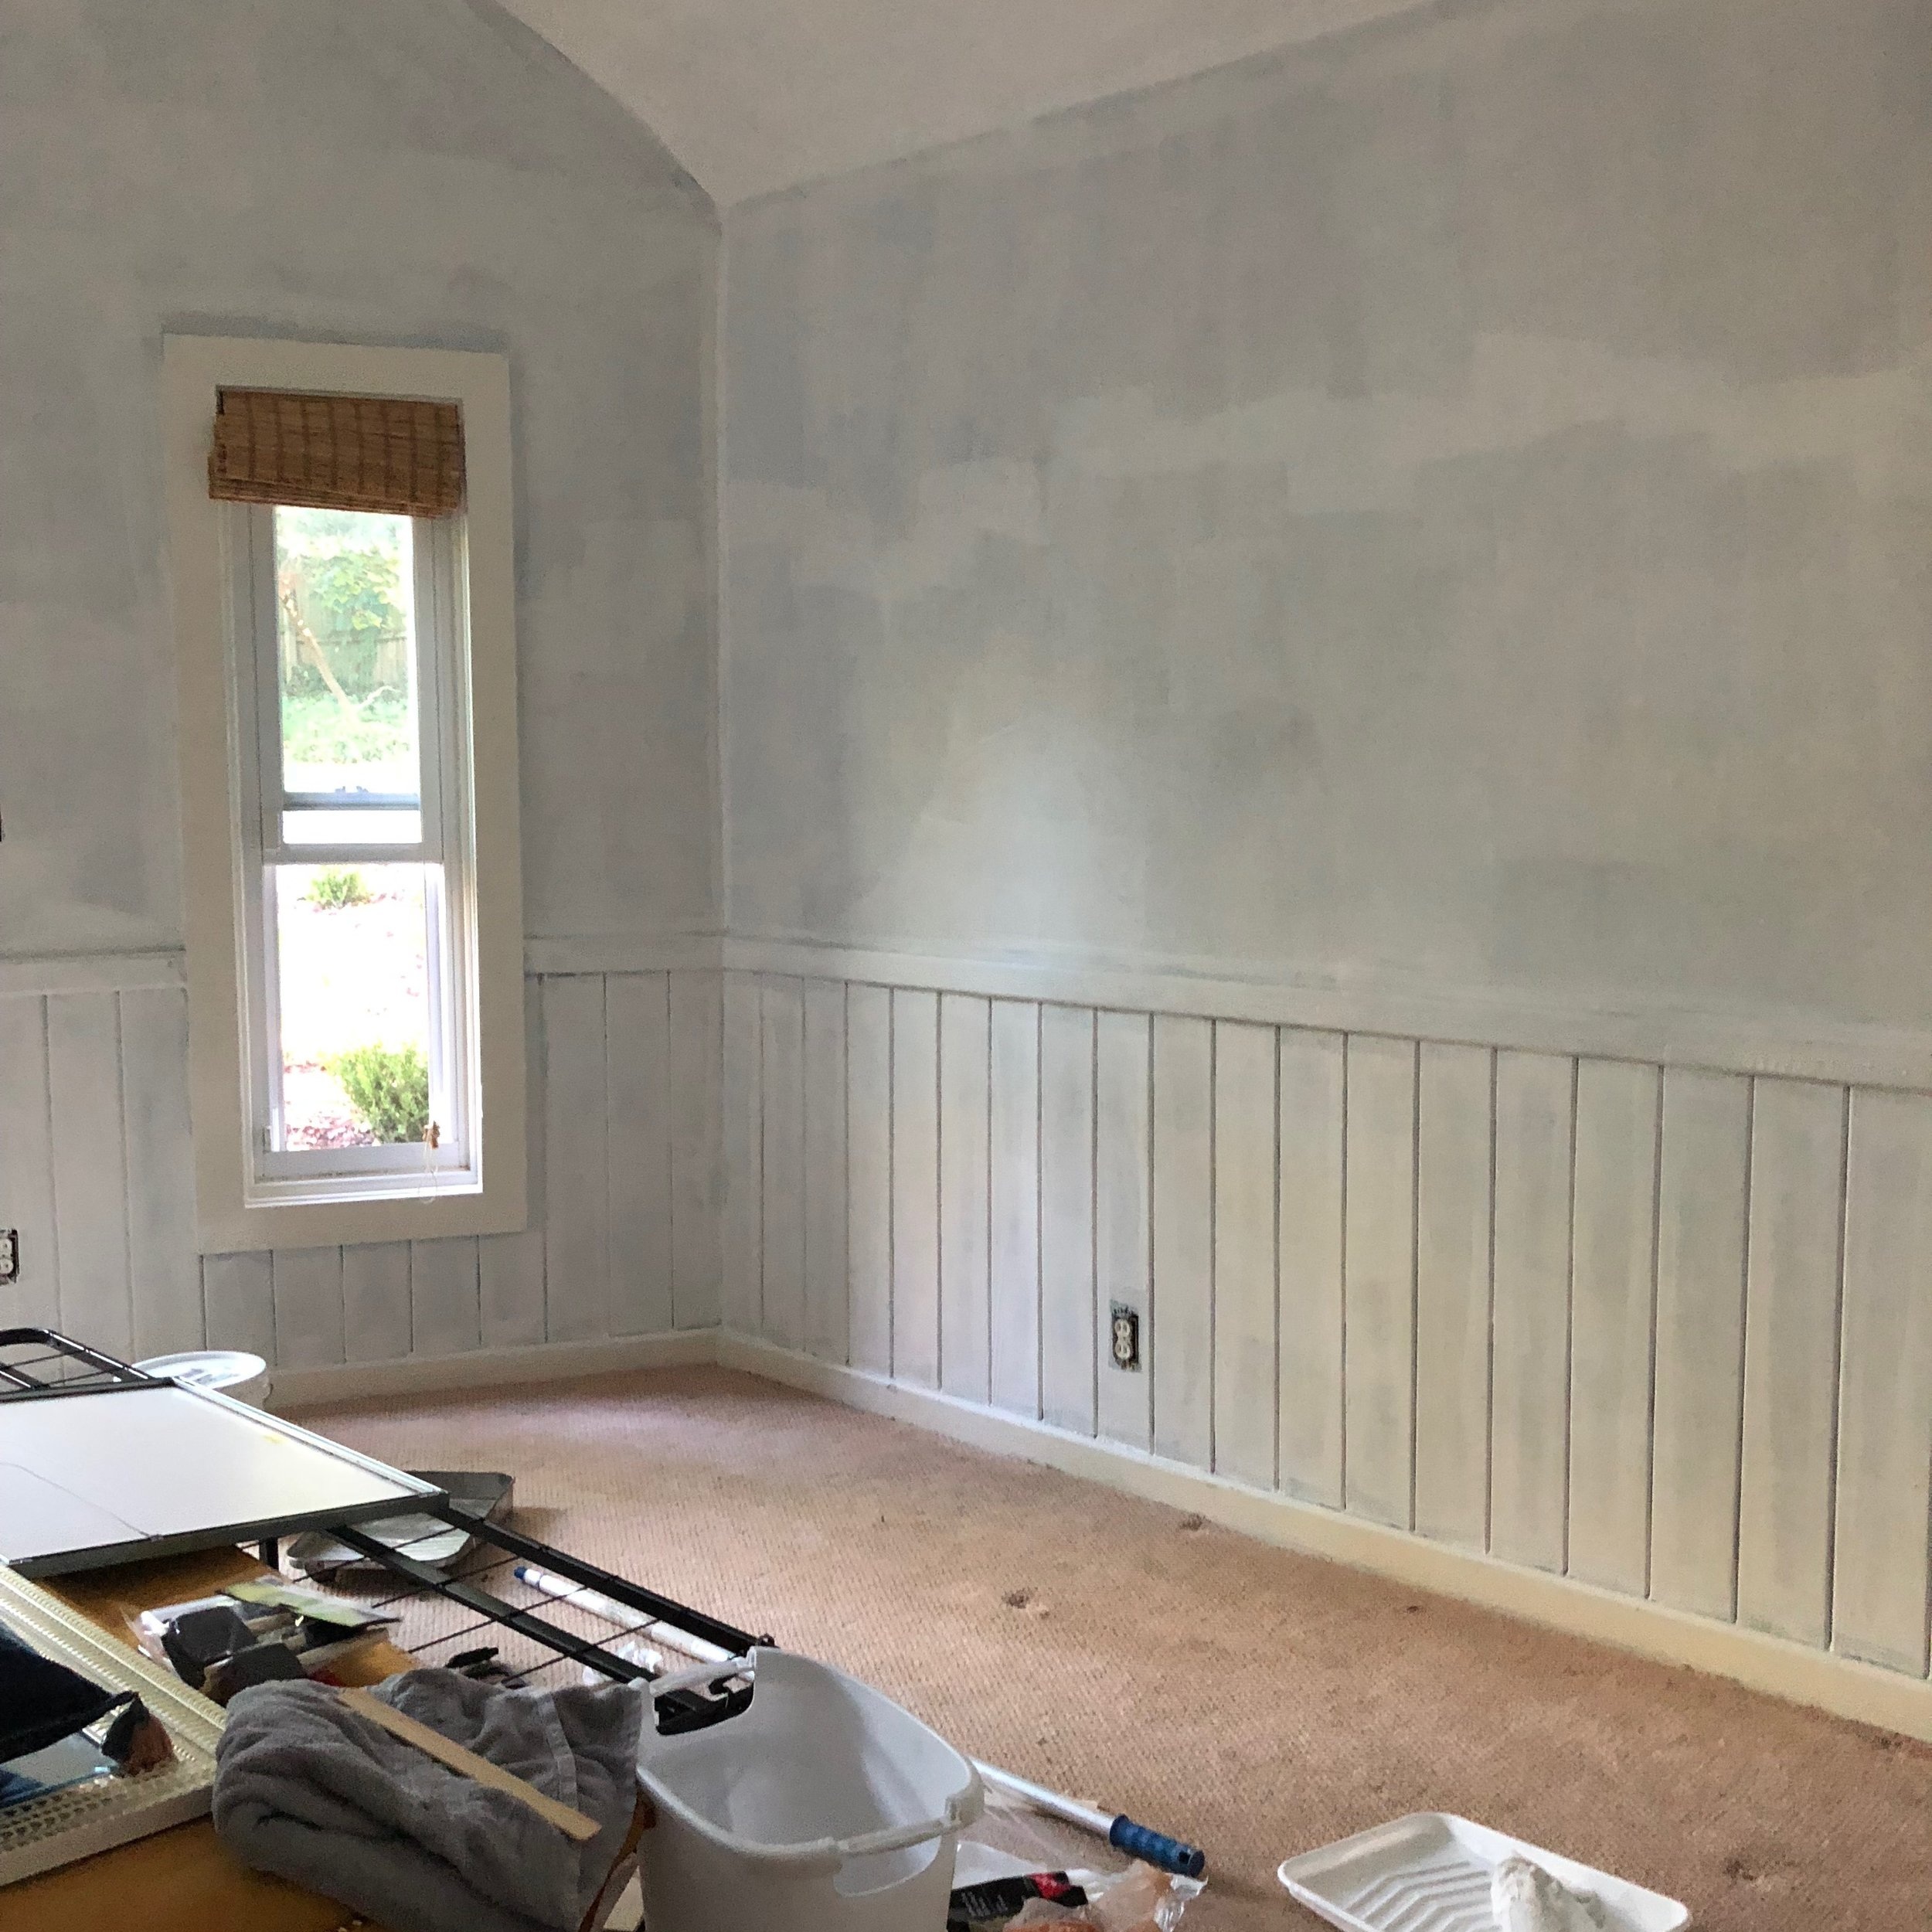
We left the carpet down in the bedroom while we painted. We had navy/black in this room before so we did two coats of Zinsser primer (the best) before we painted the walls.

I wanted to create a cohesive look with all the wood we had going on (trim, paneling, and wood floors all painted) but I also wanted some layering. So we painted the trim, paneling and wood floors all White Dove by Benjamin Moore which is a good clean white. Then we painted the walls and ceiling Grey Mist by Benjamin Moore, its a really good chalky white. It has depth without looking grey or yellow.

Then we started on the floors, patching in the new plywood to where the old hardwoods stopped. I thought long and hard about what to do since we would have different floor widths in the same room but I decided it wouldn’t bother me if it was all painted cohesively. But halfway through I did get a little nervous when I saw the differences but now it looks great! Our house is almost 100 years old and has a lot of paneling and different wood widths throughout the house so I hoped it would all blend in, and it totally does! Just looks full of character (best word for quirky old house things). In the picture above you can see the original narrow wood and then where it stopped and we patched in the wider planks.
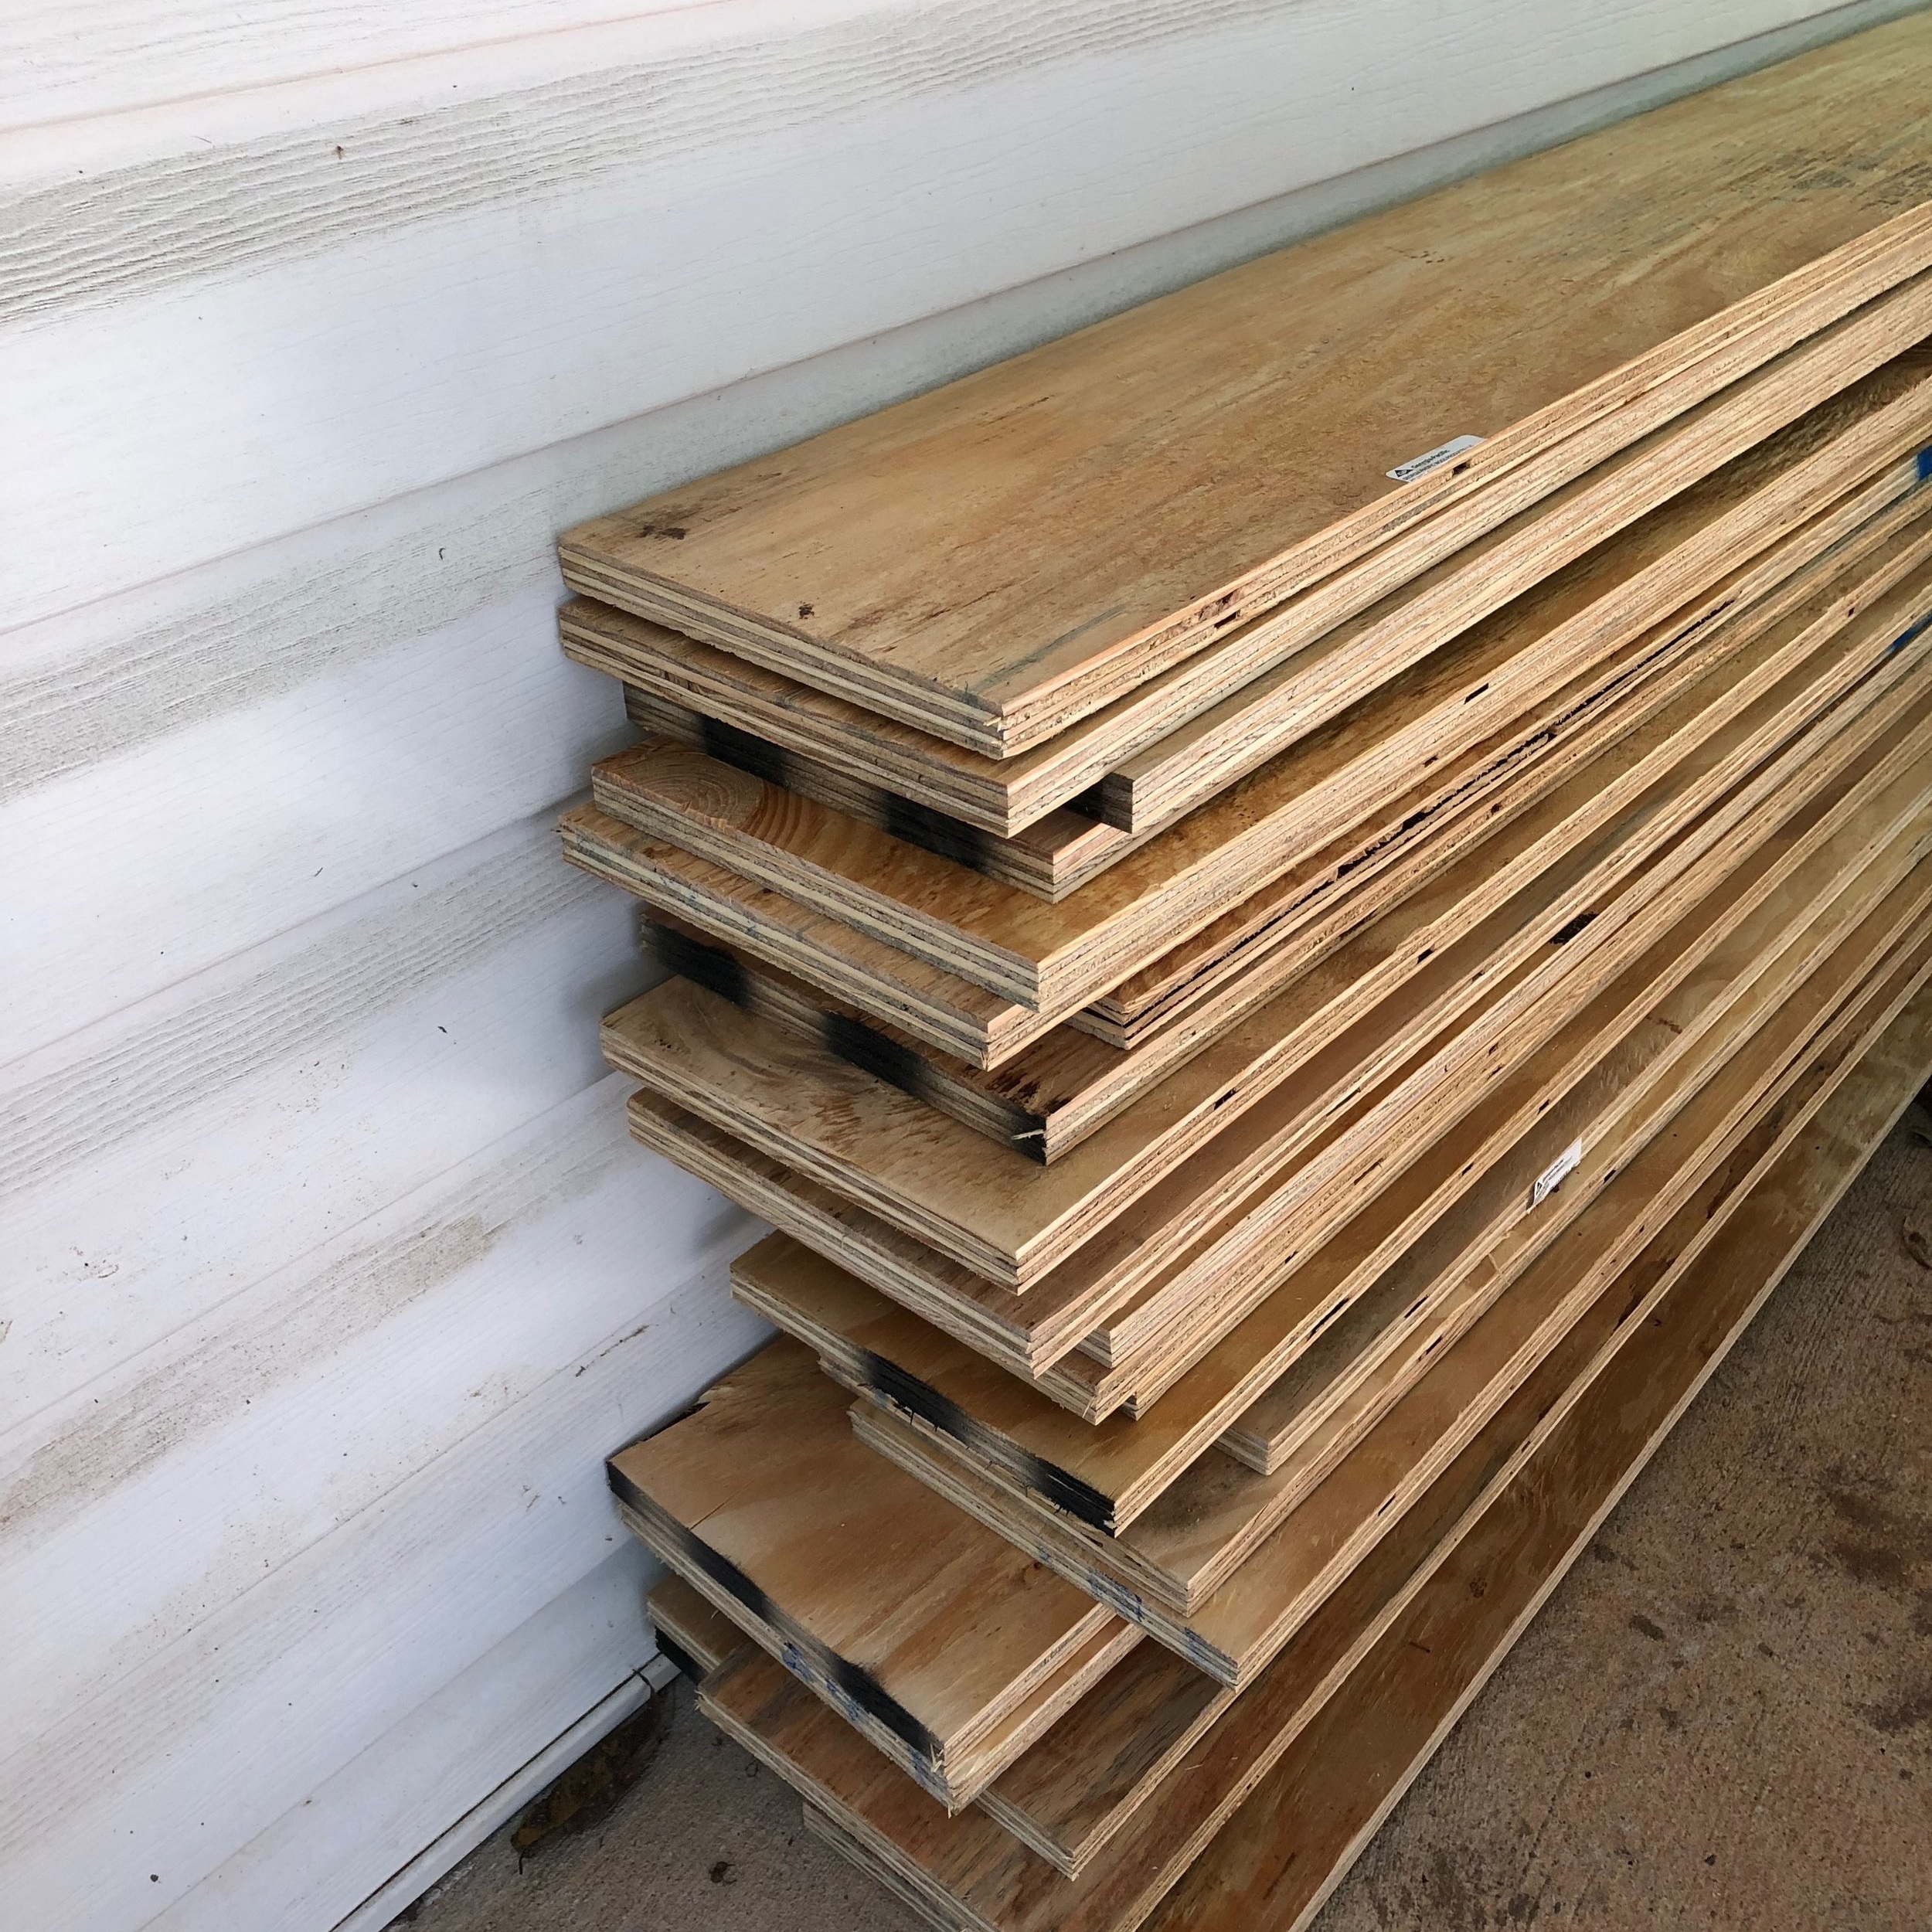
We got our plywood at Home Depot and they cut them into 8” planks for us in the store with no charge (8” planks meant there was no overage or waste from a sheet). We found this website with good tips on how to get them to cut it for you with no charge, we did everything they suggested and they cut it no charge! So it worked for us! Then I sanded each board with a palm sander (just roughly, I spent about 3 to 6 minutes per board). As I sanded Luke installed and we got almost the whole room installed in one night after the girls went to bed!
We butted the boards up next to each other to install. The boards weren’t all perfectly straight so there are some gaps which I think makes it look more like real wood floors. We installed with a nail gun and didn’t fill the holes either, going for that gappy original look again. We had one or two big gaps where we put a little wood filler but overall didn’t have to do much. After Luke installed quarter round we primed the floors (with zinsser again) and then did two coats of porch and floor paint. We didn’t seal the floors, which seems like a hot debate in the DIY wood floors world. Overall what I found is this. Some people sealed and some people didn’t and there isn’t a ‘right’ way to do it. From what we found, porch and floor paint isn’t made to be sealed since its made to be outside anyhow so we chose to not seal it. If I need to touch up the paint I would rather do that instead of having to touch up a poly finish. But that’s just me!

Here you can see what it looked like when we were patching everything in… and below is after paint when Luke was installing quarter round, supervised by Wren.

And here’s the view now into the bedroom now!

And here’s a before and after of the new bed wall! What a difference paint makes! I loved the dark but was ready for a change and the light feels so special to me.


The bed stayed the same, the pillows I grabbed from another room and the side table I found on the side of the road. YES THE SIDE OF THE ROAD. I cleaned it up and it will now live a long and happy life in my house. I stole the rug from the nursery where we had two rugs layered so its totally fine and the sconces I stole from the nursery too.

We finally found the perfect home for this favorite chair from our last house. Its now the perfect corner to read in (or throw clothes on. you know how it goes).

We are now a few months into these floors and they have held up SO WELL. Like better than I thought well. I could mop them but haven’t had to yet, if they get any dirt on them I just mainly grab a baby wipe and it comes right up. I love love the look of them and would do it again and again! If you have any questions about them I’m happy to answer them, just email me from this page or head to my instagram (@eileenandco_). I have a saved story highlight on my instagram with all the step by step details of when we were doing them if you are interested too!