
DIY Christmas Series / Blogger Stylin Christmas Home Tour

I had a few fun DIY's up my sleeve for this Christmas and by far my favorite is this DIY LOVE marquee sign. I have had this DIY on my mind and the Christmas tour was the perfect opportunity to try it!


The outdoor globe lights from Target were PERFECT.
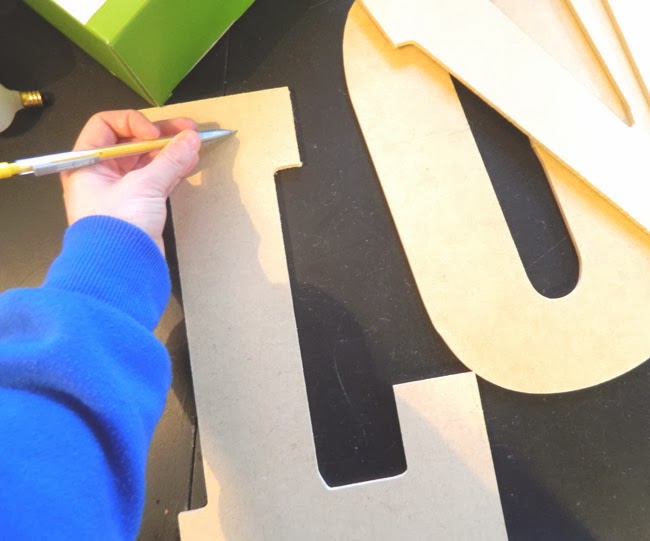
Mark on the letters where you want the bulbs to be. I didn't measure just sort of eyeballed center on each one. We only wanted to use one package of bulbs which had 25 bulbs so we planned accordingly in how many holes we drilled.
Also keep in mind that your letters will need to connect with the cord so try to line up the last hole on one letter and the first hole on another letter. Does that make sense? So in the picture above, the bottom right bulb on the L is the last on the L and then connects to the bottom left hole on the O, which is the first on the O.
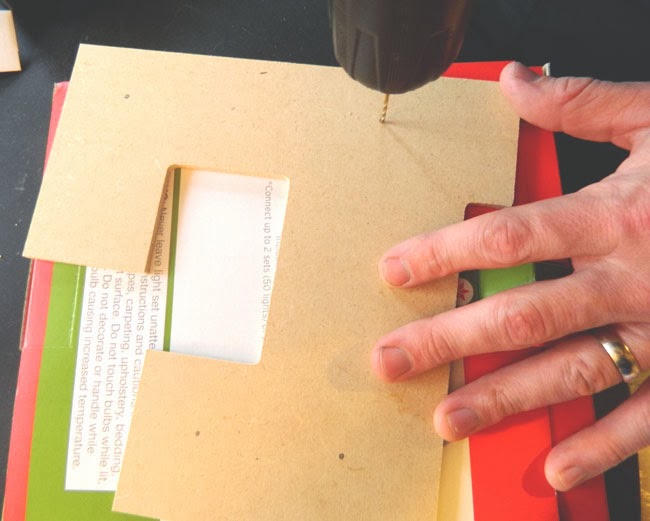
Get your drill and drill out holes big enough for the bulbs to fit through. Side note: those are Luke's man hands.

The biggest drill bit we had wasn't big enough for the lights to pull through so we used a razer blade to trim out each center. This took some time. Don't cut yourself!

Paint the letters. If your letters are mdf like ours were you will need to spray prime them first. I used an ivory gloss spray paint.
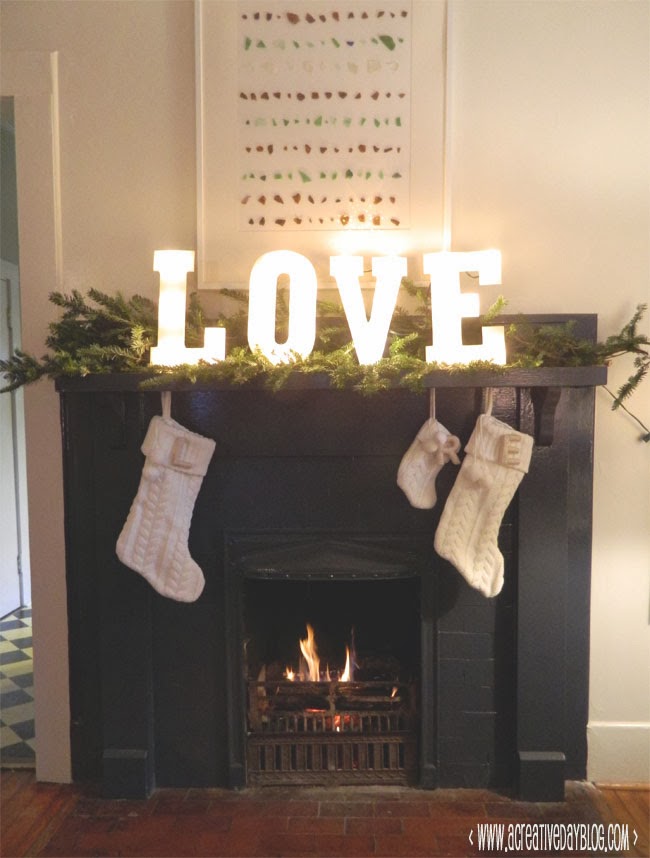
Then run the lights through, connecting each letter. We weren't really worried if some of the cord showed in between each letter because we knew there would be a garland that would hide it.

Ready to go!
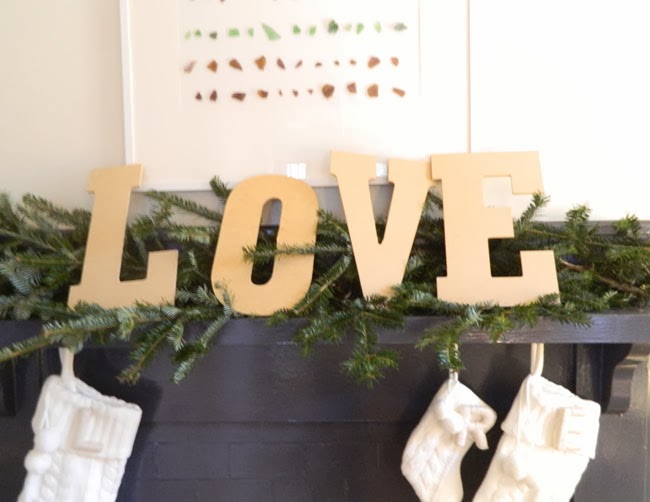
Prop up on the mantle. Ours stood up easily with the garland and after the holidays are over I might mount them on a board.
It is the first thing you see when you walk in our front door and I love it. It might stay up all year long :-)


I hope you enjoyed all the past two weeks of the DIY Christmas Series, I added a button on the right if you want to peek back through the projects. Its chock full of ideas for your handmade Christmas!
And make sure you check out all the great Christmas home tours from the Blogger Stylin' Home Tours if you want tons of Christmas inspriration. Lindsay really worked hard putting this all together and its kinda amazing she coordinated over 50 bloggers for it! Thanks girl :)
Overall these blogging home tours are a lot of work to get ready for but I've really enjoyed it because it makes me get my house ready and now I'm just sitting and enjoying it!
Disclaimer: I am not an electrician, this way just worked for us. AKA don't burn your house down.
Monday:
Lindsay - The White Buffalo Styling Co.
Roeshel - DIY Showoff
Jess and Monica - East Coast Creative
Laura - Finding Home
Jesse - Scout and Nimble
Sarah - Sarah M. Dorsey Designs
Angela - Number Fifty-three
Gwen - The Makerista
Brittany - Brittany Makes
Tuesday:
Ashley - The Handmade Home
Anneke - This, That, & Life
Gina - Shabby Creek Cottage
Cassie - Primitive & Proper
Caitlin - Desert Domicile
Jenna - Rain on a Tin Roof
Sarah - The Thriftress
Carolyn - Sweet Chaos Home
Jamie - So Much Better with Age
Shavonda - A Home Full of Color
Wednesday:
Emily - Jones Design Company
Jamie - C.R.A.F.T.
Lucy - Craftberry Bush
Michelle - Decor and the Dog
Whitney - The Curtis Casa
Kristin - Bliss at Home
Summer - Simple Stylings
Sarah - Lacquer and Linen
Kelly - View Along the Way
Thursday:
Kennesha – Restoration House Interiors
Jenna - SAS Interiors
Chris - Just a Girl
Kelly - Eclectically Vintage
Michelle - Iron and Twine
Amanda - Our Humble Abode
Julia - Cuckoo 4 Design
Bethany - Dwellings by Devore
Lindsay - Makely Home
Jennifer - Dimples & Tangles
Friday:
Shauna - Perfectly Imperfect
Traci - Beneath My Heart
Jen – The Chronicles of Home
Jennifer - Tatertots and Jello
Kristin - Hunted Interior
Eileen - A Creative Day
Gabbi - Retro Ranch Reno
Shannon - Shannon Berry Design
Lakeitha - Lakeitha Duncan
Kristen - KFD Designs
Jessica - Dear Emmeline
Sarah - Royal Marigold
Carmel - Our Fifth House
Danika - Gorgeous Shiny Things